Introduction to Drawing a Birthday Cake
Learning how to draw a birthday cake can be a fun and rewarding experience, whether you are a beginner or someone looking to refine your drawing skills. A birthday cake is a timeless symbol of celebration, joy, and creativity, making it an excellent subject for artists of all levels. By following this step-by-step guide, you’ll learn how to sketch the cake’s layers, frosting, candles, and decorations in a simple yet detailed way. With a little practice, you’ll master the art of drawing a birthday cake that looks both realistic and festive.
The process of drawing a birthday cake combines fundamental artistic skills such as sketching, shading, and adding color. By breaking the process into easy-to-follow steps, even complete beginners can learn to create a beautiful birthday cake drawing. This guide will walk you through each stage, from gathering your materials to adding realistic details that make your cake stand out.
By the end of this tutorial, you’ll have a complete birthday cake drawing that looks fantastic and showcases your artistic talent. Whether you’re looking to create art for a birthday card, a poster, or just for fun, this step-by-step guide will make it simple and enjoyable. Let’s get started!
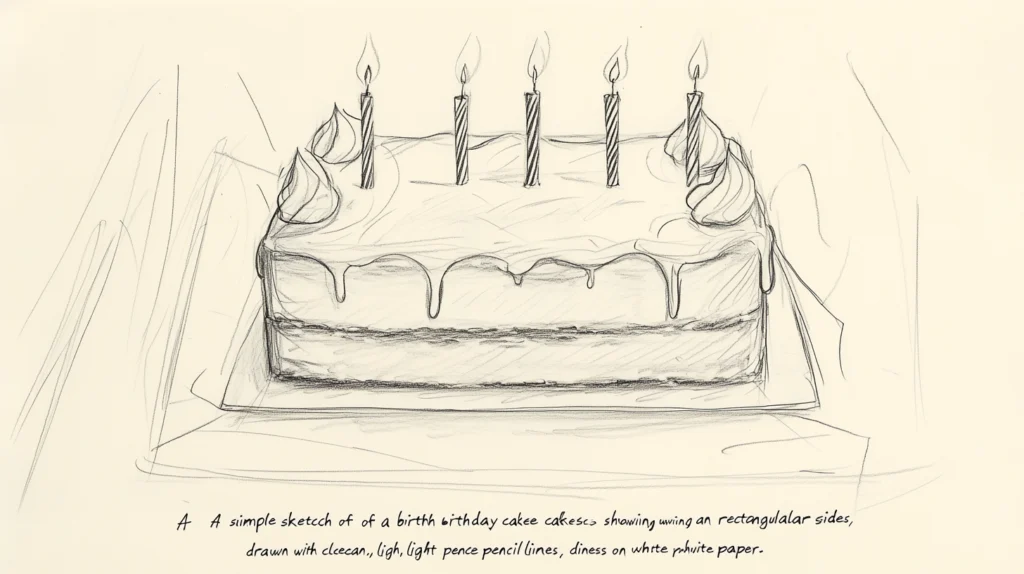
Materials You Need to Draw a Birthday Cake
Before diving into the drawing process, you’ll need to gather the right materials. Having the correct tools ensures your drawing will be clean, well-structured, and enjoyable to create. Here’s a list of essential supplies:
Essential Tools and Supplies
- Sketching Pencils: Choose a set of pencils with various levels of hardness (HB, 2B, 4B, etc.). A softer pencil will help with shading, while a harder pencil is great for outlining.
- Eraser: A kneaded eraser or a precision eraser helps clean up mistakes and smudges as you sketch.
- Drawing Paper: Use smooth, sturdy paper to achieve better lines and shading results. A basic drawing pad or sketchbook will work perfectly.
- Ruler: A ruler is helpful for creating straight and proportional lines, especially for cake layers.
- Fine Liners or Ink Pens: These are great for finalizing your drawing with clean, bold outlines.
- Colored Pencils or Markers: If you want to add color to your drawing, colored pencils and markers are ideal for vibrant results.
Choosing the Right Paper and Pencils
Selecting high-quality paper and pencils will elevate the appearance of your birthday cake drawing. For beginners, start with an HB pencil for light sketches, then use softer pencils (2B, 4B) to shade details like frosting and shadows. Smooth drawing paper or mixed-media paper works best for achieving clean lines without smudges.
Preparing to Draw a Simple Birthday Cake
Drawing a birthday cake begins with planning the basic structure and understanding its proportions. Whether you’re sketching a simple cake with one layer or a multi-tiered masterpiece, preparation is key to ensuring your drawing turns out balanced and realistic. This section will help you visualize your cake and break it into manageable parts.
Understanding Basic Shapes and Proportions
The foundation of any birthday cake drawing relies on basic geometric shapes. A typical cake can be broken down into circles, rectangles, and ovals:
- Circles and Ovals: Represent the top of the cake or the plate it rests on. For a 3D effect, ovals are often used for a realistic look.
- Rectangles: Represent the cake’s layers when viewed from the side. These shapes give the cake its height and structure.
- Straight and Curved Lines: Curved lines help create a smooth and rounded effect, particularly for the frosting and base.
To start, imagine the birthday cake as a stack of shapes:
- The top of the cake is an oval.
- The sides of the cake are vertical rectangles.
- Additional tiers or decorations can be drawn as smaller ovals or rectangles stacked on top.
Tip: Keep proportions simple at first. If you’re drawing a two-tiered cake, make sure the bottom layer is wider than the top for stability and visual appeal.
Planning the Layers of the Cake
Before sketching, it’s helpful to decide how many layers your cake will have. Here are some common styles:
- Single-Layer Cake: Simple and ideal for beginners. It consists of one oval on top and one rectangular base.
- Two-Layer Cake: Adds a second, smaller oval and rectangle on top of the first layer, giving a stacked look.
- Three-Layer Cake: This style adds height and allows for more decorations like candles or frosting details.
Steps to Plan the Layers:
- Draw light guidelines for the height and width of your cake. Use a ruler to ensure even proportions.
- Start with the bottom layer as the widest part. Add smaller layers on top.
- Keep the spacing between layers even, and make sure the top layers are centered.
By visualizing the cake in basic shapes, you’ll have a clearer idea of how to structure your drawing without getting overwhelmed. Once the layers are planned, it’s time to bring your cake to life with step-by-step sketching.
Step-by-Step Guide: How to Draw a Birthday Cake
Here’s where the real fun begins! Follow this step-by-step guide to sketch and refine your birthday cake. Each step builds upon the previous one, making the process simple and enjoyable.
Step 1: Sketching the Base of the Cake
- Draw the Top Oval: Start by sketching a horizontal oval in the center of your page. This oval represents the top of the cake. Make sure to keep the lines light, as you’ll refine them later.
- Draw the Sides of the Cake: From the edges of the oval, draw two vertical lines downward. These lines form the sides of the cake.
- Draw the Bottom Curve: Connect the two vertical lines with a gentle curve at the bottom. This completes the cake’s base, giving it a 3D cylindrical appearance.
Tip: Use your ruler for clean and proportional lines, but keep the curves natural to mimic a real cake’s shape.
Step 2: Adding Layers to the Cake
If you’re drawing a multi-layered cake:
- Draw a Smaller Oval: Sketch another oval directly above the first one. This will be the top layer. Keep it centered for balance.
- Add Vertical Lines: Extend vertical lines downward from the sides of the smaller oval, just like you did for the base.
- Connect the Bottom: Draw a curve at the bottom to complete the second layer.
Repeat this process if you’re adding a third layer or more. Remember, each layer should get progressively smaller as you move upward.
Step 3: Drawing the Frosting and Decorations
Now that the structure of the cake is ready, it’s time to add the fun details!
- Add the Frosting: Draw a wavy line slightly below the top oval to represent dripping frosting. Use curved, uneven lines to make the frosting look natural and realistic.
- Add the Cake Plate: Under the base of the cake, draw a larger oval to represent the cake plate or stand. This helps ground the cake in your drawing.
- Add Simple Decorations: Start with small circles or ovals along the frosting line to represent sprinkles or candies. For more creative flair, you can draw tiny flowers, stars, or stripes on the cake’s surface.
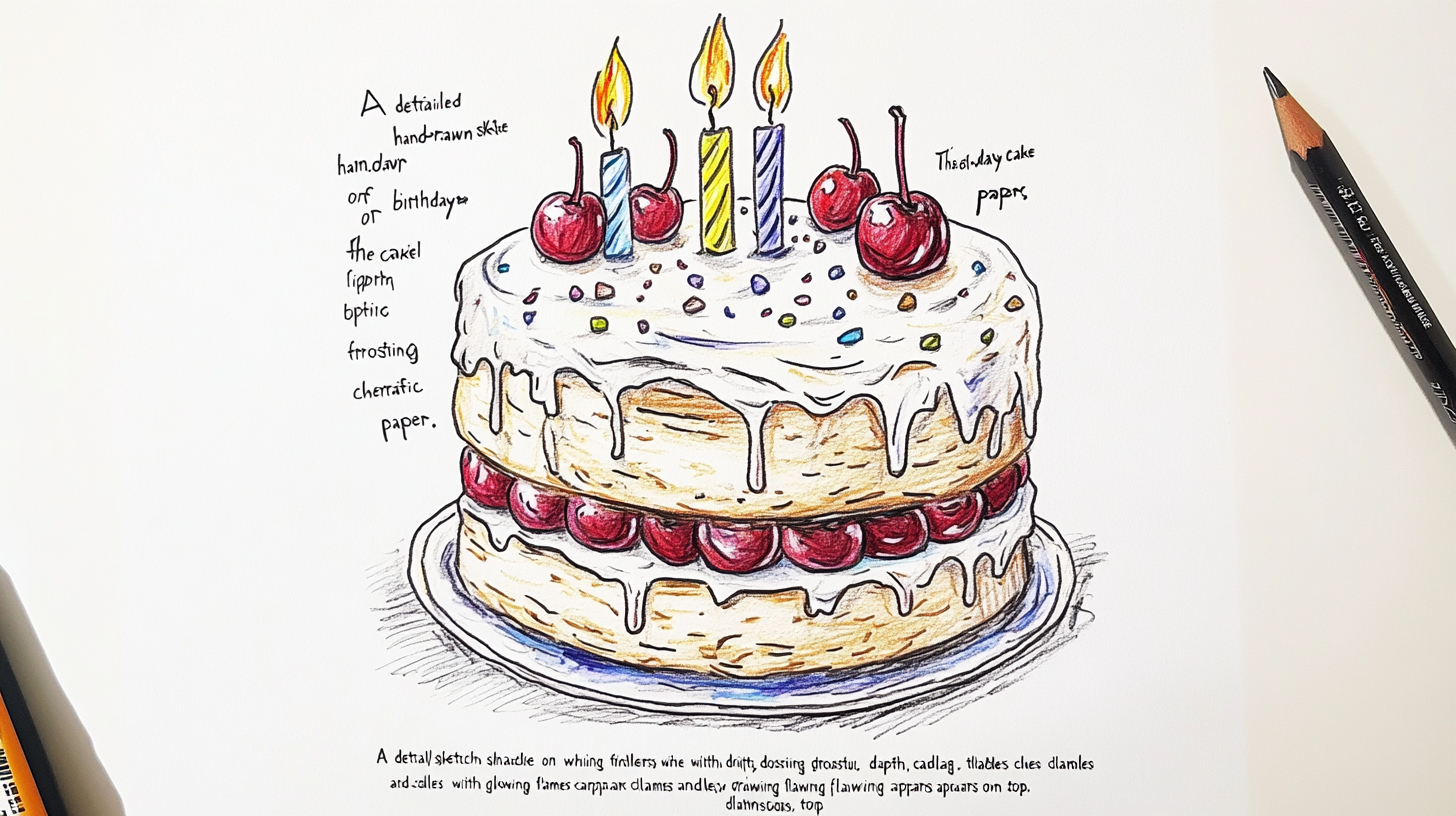
At this stage, the birthday cake drawing begins to take shape. You have a strong foundation with layers, frosting, and decorations. Next, you’ll add candles and finalize the details to complete the drawing.
Step 4: Adding Candles on the Cake
Candles are one of the most iconic elements of a birthday cake drawing. Adding them is simple, but they can elevate the overall look of your sketch. Here’s how to draw realistic candles step by step:
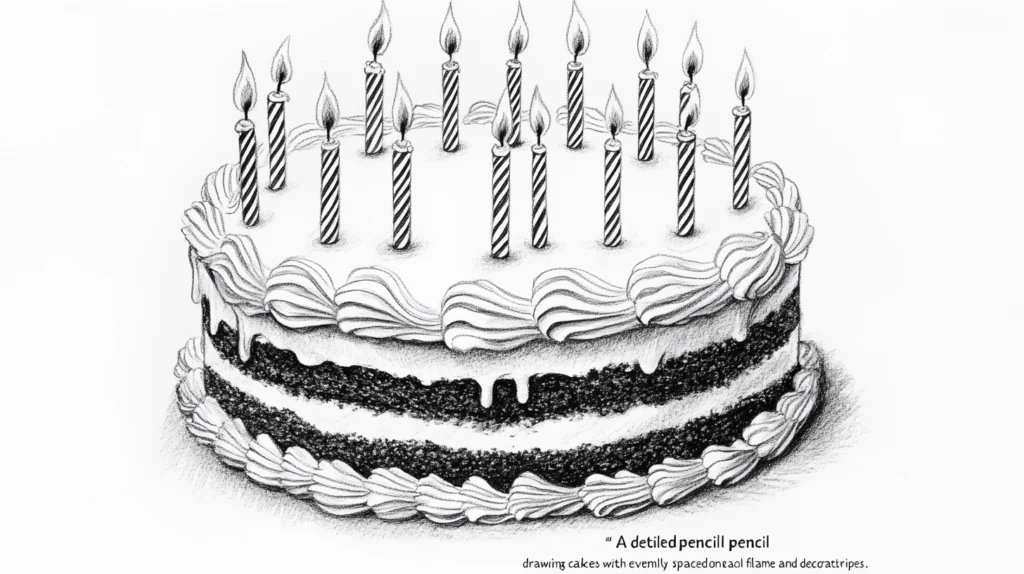
- Draw Vertical Lines: Start by drawing thin, straight vertical lines extending upward from the top oval of the cake. Place them evenly spaced across the cake’s surface. The number of candles can vary depending on your preference.
- Add Candle Tops: At the top of each vertical line, draw a small rectangle or oval to form the top of the candle. This gives the candle a three-dimensional appearance.
- Draw Flames: Sketch a small teardrop shape above each candle’s top to represent the flame. Add a smaller teardrop inside to create a glowing effect.
- Add Details: For a more realistic look, draw stripes or patterns on the candles. Use curved lines or zigzags to give each candle a unique design.
- Shading: Add subtle shading under each flame and along the sides of the candles to create depth.
Tip: Make sure the candles vary slightly in height to give your cake a dynamic and natural appearance.
Step 5: Finalizing the Outline and Adding Details
Now that the cake structure, frosting, and candles are in place, it’s time to finalize your drawing:
- Outline the Cake: Go over the basic structure (ovals, rectangles, and curves) with a fine liner or ink pen to make the drawing bold and clean.
- Refine the Frosting: Emphasize the wavy frosting lines to make them stand out, and add small lines to suggest drips.
- Enhance Decorations: Finalize the sprinkles, candies, or flowers you added earlier. Draw tiny details like dots, stars, or stripes for extra visual appeal.
- Erase Guidelines: Use an eraser to clean up any light pencil guidelines you no longer need.
Optional Step: Add light shading or shadows under the cake plate, on the sides of the cake, and under the frosting drips. This gives your drawing depth and makes the cake look more three-dimensional.
How to Add Realistic Details to Your Birthday Cake Drawing
Once you have the basic cake drawing outlined, adding realistic details will take your artwork to the next level. Let’s focus on texture, shadows, and unique decorations.

Creating Texture on the Frosting
The frosting is a key element of any birthday cake. To create realistic texture:
- Use curved, overlapping lines on the frosting to make it appear smooth and creamy.
- Draw wavy lines dripping naturally from the edges of the cake.
- Add small dots or swirls to mimic decorative frosting elements like rosettes or piped patterns.
Tip: Use a soft pencil like 2B to create smooth shading for a realistic frosting texture.
Drawing Shadows and Highlights for Depth
Shadows and highlights give your cake drawing a realistic, three-dimensional appearance. Here’s how:
- Shadows: Use gentle, soft shading on one side of the cake to suggest a light source coming from the opposite side.
- Shade slightly under the frosting drips and along the edges of the cake plate.
- Highlights: Leave small portions of the cake’s surface unshaded to represent reflected light. For example, add highlights on the top edge of the frosting and the tops of the candles.
Designing Unique Cake Decorations
To make your cake stand out, you can include fun and creative decorations:
- Flowers: Draw small petal shapes for a floral theme.
- Balloons or Banners: Sketch tiny balloons on sticks or draw a banner across the cake for festive charm.
- Sprinkles: Use tiny circles, dots, and lines across the frosting to create colorful sprinkles.
- Patterns: Add stripes, zigzags, or polka dots to make each layer unique.
Coloring Your Birthday Cake Drawing
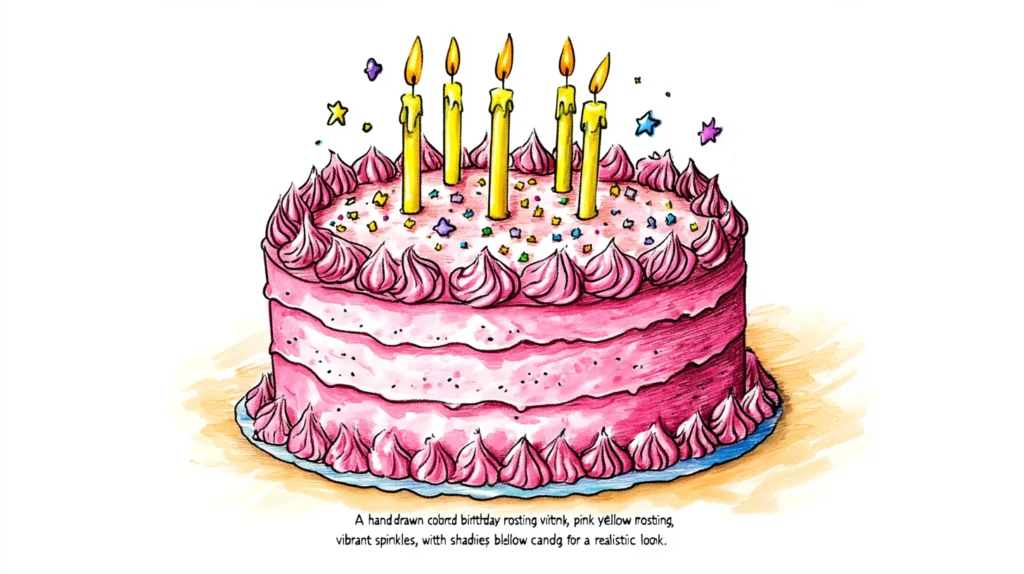
Adding color to your birthday cake drawing brings it to life. Whether you prefer soft pastels or vibrant hues, the following tips will help you achieve beautiful results.
Selecting the Right Colors for Realism
When coloring your birthday cake:
- Use light colors for the frosting, such as white, cream, pink, or pale yellow. These colors look soft and realistic.
- Choose darker shades for shadows, like grays or light browns, to create depth.
- Use bright colors for decorations—think red for cherries, blue for sprinkles, or green for leaves.
Techniques for Blending and Shading
To achieve smooth blending and shading:
- Start with a base color and layer it lightly across the cake.
- Use darker shades to add shadows under the frosting and on the sides of the cake.
- Blend colors using a blending tool, tissue, or your finger for a soft effect.
- For highlights, leave small areas white or use a white pencil to create a reflective glow.
By adding shading, blending, and vibrant decorations, your birthday cake drawing will appear polished and realistic.
Frequently Asked Questions (FAQs)
What is the easiest way to draw a birthday cake?
The easiest way to draw a birthday cake is to start with basic shapes like ovals and rectangles. Use step-by-step instructions to sketch the base, add frosting, and decorate with candles. Keep it simple and practice regularly.
How can I make my cake drawing look realistic?
To make your cake look realistic, focus on adding shadows, highlights, and texture to the frosting. Use soft shading to create depth and blend colors smoothly for a three-dimensional effect.
What tools do I need to draw a detailed birthday cake?
You’ll need sketching pencils, a ruler, erasers, fine liners, and coloring tools like markers or colored pencils. Good-quality paper will also help achieve clean lines and smooth shading.
Can beginners follow this birthday cake drawing tutorial?
Yes, this guide is designed for beginners. By following the step-by-step instructions and starting with basic shapes, anyone can successfully draw a birthday cake.
How do I add candles and frosting effectively?
To add candles, draw straight vertical lines topped with small ovals and flames. For frosting, use wavy, curved lines to create dripping effects and add texture for realism.
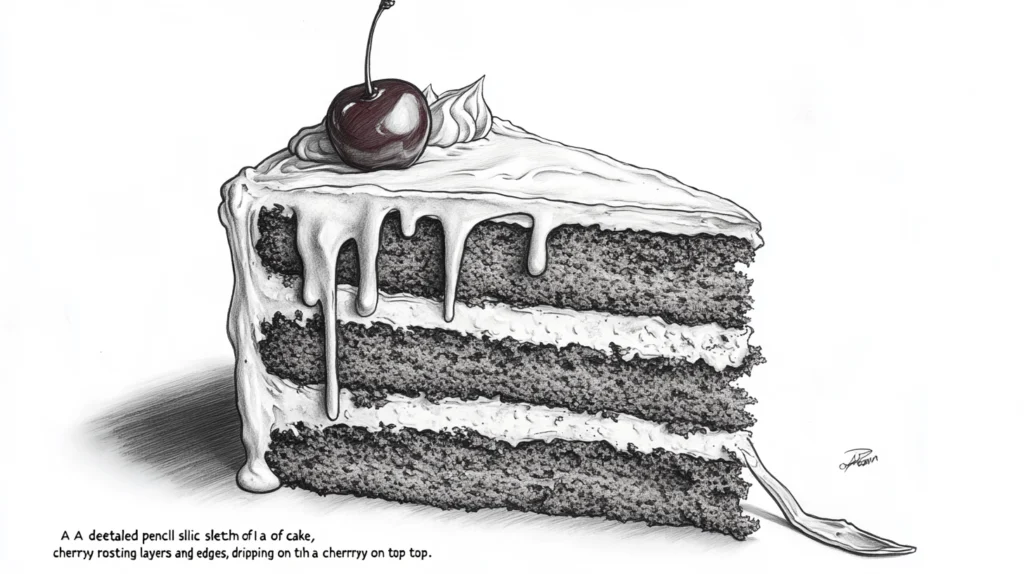
How to draw a piece of cake?
To draw a piece of cake:
- Start with a triangle shape for the slice.
- Draw a slightly curved line across the top for the frosting.
- Add parallel vertical lines to show the cake’s layers.
- Draw dripping frosting along the edges and small decorations like sprinkles or a cherry on top.
- Add shading for depth and realism.
Conclusion: Perfecting Your Birthday Cake Drawing
Drawing a birthday cake is a fun and creative way to practice basic art techniques. By following simple steps—starting with shapes, adding layers, frosting, and decorations—you can create a beautiful and realistic cake drawing. Whether you’re a beginner or an experienced artist, adding personal touches like candles, patterns, and shading makes your artwork unique. With practice and imagination, you’ll be able to draw stunning birthday cakes to celebrate any occasion!

2 thoughts on “How to Draw a Birthday Cake: Step-by-Step Guide”
Comments are closed.