Introduction to Achieving the Perfect Pie Crust
Have you ever eagerly sliced into a freshly baked pie, only to find a soggy bottom crust? It’s frustrating, isn’t it? A crispy bottom crust isn’t just about aesthetics—it’s about texture, flavor, and making your pie truly irresistible. But don’t worry! We’ve all been there, and the good news is, there’s a solution. Stick with me, and I’ll show you the secrets to achieving the perfect, golden, crispy crust.
Why a Crispy Bottom Crust is Important
Imagine biting into a pie where the crust crunches gently under your fork. It’s perfection, right? A crispy bottom crust acts as a foundation for all that delicious filling, ensuring that every bite is a balance of textures. A soggy crust? That’s like eating a wet sandwich—no fun at all!
Common Problems with Soggy Pie Crusts
Let’s face it, soggy bottoms happen to the best of us. Here are some common culprits:
- Too much liquid: Fillings like fruits release juice, soaking the crust.
- Skipping pre-baking: Known as blind baking, this step can make all the difference.
- Low oven temperature: A cooler oven means the crust doesn’t cook fast enough to crisp up.
Sound familiar? No worries. We’ll tackle each issue head-on.
“A crispy pie crust isn’t a luxury; it’s a necessity. With the right techniques, anyone can achieve it!”
Understanding the Science Behind a Crispy Pie Crust
To master a crispy pie crust, you need to understand the science behind it. Don’t worry—I’m not going to bore you with complicated jargon. Let’s keep it simple and fun!
The Role of Fat and Flour in Baking Crispy Pie Bases
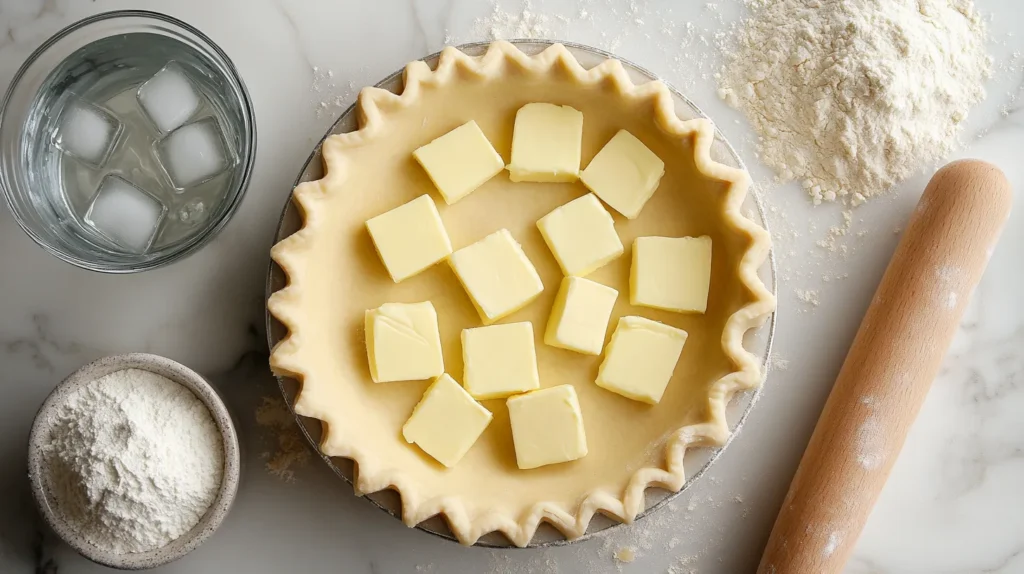
Fat is the magic ingredient that makes your crust flaky. When fat melts during baking, it creates pockets of air that turn into layers of flaky goodness. Butter is the most popular choice because it gives that rich, buttery flavor. Shortening and lard also work well if you’re looking for extra flakiness. The key is to keep the fat cold—like, “just out of the fridge” cold.
Butter and shortening are popular choices for pie crusts. Butter provides excellent flavor, while shortening ensures flakiness. If you’re experimenting with gluten-free options, explore our tips in easy gluten-free recipes.
Importance of Temperature and Baking Time for a Golden, Crisp Pie
Temperature is everything when it comes to baking pie crusts. A hot oven helps the fat melt quickly, creating those beautiful layers we talked about. Aim for an oven temperature of 375°F to 425°F, depending on your recipe. And remember, under-baking is your enemy. A pale crust is rarely a crispy one!
How Moisture Affects the Crust
Moisture is the number one reason crusts turn soggy. Fruits, custards, and other fillings can release liquid as they bake, which seeps into the crust. That’s why techniques like pre-baking and layering come in handy (more on that soon).
Choosing the Right Ingredients for a Crisp and Flaky Crust

Want a flawless crust? It all starts with the right ingredients. Here’s your shopping list for pie-making success:
| Ingredient | Quantity | Purpose |
|---|---|---|
| All-purpose flour | 2 1/2 cups | Forms the structure of the dough |
| Butter (cold) | 1 cup | Adds flavor and creates flakiness |
| Salt | 1 tsp | Enhances flavor |
| Ice water | 6-8 tbsp | Binds the dough together |
Best Flours for Pie Dough
All-purpose flour is your go-to for pie dough. It strikes the perfect balance between strength and tenderness. If you’re feeling adventurous, try mixing in some pastry flour for an even softer texture.
Fat Options: Butter, Lard, or Shortening?
Butter gives unbeatable flavor, but lard and shortening have their own perks. Lard produces a super flaky crust, while shortening is great for stability. Can’t decide? Go for a mix of butter and shortening for the best of both worlds.
The Role of Liquids in Pie Dough
Ice-cold water is crucial for binding the dough without activating too much gluten (which can make your crust tough). Some bakers swear by adding a splash of vinegar or vodka, claiming it makes the dough easier to roll out. Give it a try!
“The secret to a perfect pie crust is in the ingredients. Choose wisely, and you’re halfway there!”
Best Techniques for Achieving a Crispy Pie Crust Bottom

Now that we’ve covered the basics, let’s get into the nitty-gritty of preventing soggy bottoms. Trust me, these tips will change your pie game forever.
Pre-Baking (Blind Baking) Your Crust
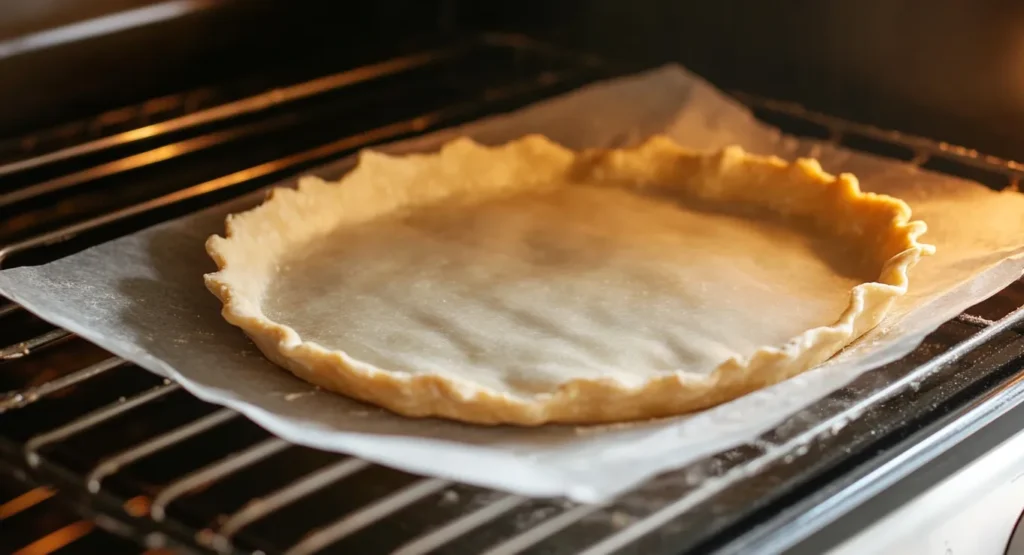
Blind baking is like giving your crust a head start. By pre-baking the crust before adding the filling, you create a barrier that helps prevent moisture from seeping in. Here’s how to do it:
- Roll out your dough and fit it into the pie dish.
- Line the crust with parchment paper or aluminum foil.
- Fill it with pie weights, dried beans, or rice.
- Bake at 375°F for about 15 minutes, then remove the weights and bake for another 5 minutes.
Pre-baking, or blind baking, is an excellent technique for achieving a crispy crust. It involves baking the crust before adding the filling. To master this technique, check out our guide on delicious apple breakfast recipes for inspiration on pairing crusts with fillings.
Using Pie Weights or Alternatives
Don’t have fancy pie weights? No problem! Dried beans, rice, or even clean marbles work just as well. The goal is to keep the crust flat and prevent air bubbles from forming during pre-baking.
Docking the Dough for Better Airflow
Docking is just a fancy word for poking holes in the dough with a fork. This allows steam to escape, preventing the crust from puffing up during baking. It’s a small step that makes a big difference!
“Think of pre-baking as a dress rehearsal for your crust—it’s all about preparation.”
That wraps up Part 1 of our crispy crust adventure! In Part 2, we’ll explore layering techniques, oven settings, recipes, and troubleshooting tips to make your pie crust foolproof. Ready for the next step? Stay tuned!
Layering Techniques to Ensure a Crisp Bottom Crust
Now that you’ve got the basics down, let’s take it up a notch with layering and barriers. These techniques act like armor for your crust, keeping moisture at bay. Think of them as your pie’s secret weapon.
Brushing the Crust with Egg Wash
An egg wash isn’t just for a glossy top crust—it can also help seal the bottom. Once you’ve blind-baked your crust, brush a thin layer of beaten egg over it and pop it back in the oven for a couple of minutes. This forms a protective barrier, locking out moisture like a raincoat for your pie.
For custard or fruit pies, brush the crust with egg whites or melted chocolate before adding the filling. This prevents sogginess by creating a barrier. For more on custard-style inspirations, see is tiramisu healthy?.
Sprinkling a Thin Layer of Flour or Cornstarch
Before adding your filling, sprinkle a bit of flour, cornstarch, or even breadcrumbs onto the crust. This absorbs any excess liquid that might try to sneak through, keeping the bottom dry and crisp. Simple, yet so effective!
Adding a Layer of Breadcrumbs or Crushed Cookies
If you’re making a fruit pie, try adding a layer of crushed graham crackers or vanilla wafers on the crust before the filling. Not only does this act as a barrier, but it also adds a delightful flavor boost. Win-win!
“A little layering goes a long way—your crust will thank you!”
Oven Settings and Baking Tips
Tips for Baking a Crispy, Golden Pie Crust Every Time
Your oven is the final frontier in the battle for crispy crusts. Let’s make sure it’s working with you, not against you.
Optimal Baking Temperatures and Times
The sweet spot for most pie crusts is 375°F to 425°F. A higher temperature crisps up the crust faster, which is exactly what you want. If you’re baking a fruit pie, start at a higher temperature for the first 20 minutes, then lower it slightly to finish. It’s like giving your pie a head start in a race!
Using a Baking Stone or Steel
Ever wondered why pizza crusts are so crispy? It’s all about the hot surface they bake on. You can achieve the same effect by placing your pie dish on a preheated baking stone or steel. The extra heat from below ensures the bottom crust bakes evenly and crisps up beautifully.
Positioning Your Pie in the Oven
For the best results, bake your pie on the lower rack. This places the crust closer to the heat source, giving it a better chance to crisp up before the filling has a chance to release too much liquid. It’s all about strategy!
Recipes and Variations for Crispy Pie Crusts
Now that you’ve got the know-how, it’s time to put it into practice. Here’s a simple recipe to get you started, along with some fun variations to try.
Classic Butter Pie Crust Recipe
This foolproof recipe will have you making pies like a pro:
| Ingredient | Quantity |
|---|---|
| All-purpose flour | 2 1/2 cups |
| Butter (cold, cubed) | 1 cup |
| Salt | 1 tsp |
| Ice water | 6-8 tbsp |
- In a bowl, mix flour and salt.
- Cut in the cold butter until the mixture resembles coarse crumbs.
- Add ice water, one tablespoon at a time, until the dough comes together.
- Roll out and chill before using.
Gluten-Free Options for Crispy Crusts
Gluten-free bakers, rejoice! Substitute all-purpose flour with a gluten-free blend, and add a teaspoon of xanthan gum for structure. You’ll get all the crunch without the gluten.
Flavored Crusts: Adding Herbs and Spices
Take your pie to the next level by mixing herbs like rosemary or spices like cinnamon into your dough. It’s a simple way to customize your crust and wow your guests.
Troubleshooting: Fixing Soggy Pie Crusts After Baking
Sometimes, despite your best efforts, the crust still comes out less than perfect. Don’t worry—there are ways to save it.
How to Re-Bake for Crispiness
If your pie is done but the bottom pie crust isn’t crispy enough, pop it back in the oven at 375°F for 5-10 minutes. Cover the edges with foil to prevent burning, and let the crispy bottom crust catch up. It’s like giving your crust a second chance!
Using the Broiler to Add a Final Crisp
In a pinch, you can use the broiler for a quick fix. Place your pie under the broiler for a couple of minutes to dry out the crust. Just keep a close eye on it—you don’t want it to burn!
“Even a soggy crust can be redeemed with a little creativity and patience.”
Expert Tips for Mastering Pie Crusts
Now that you’re a pie-crust pro, here are a few final tips to keep in your back pocket:
Practice Makes Perfect: Iterative Improvements
Every pie you bake is an opportunity to learn. Keep experimenting, and don’t be afraid to try new techniques. Who knows? You might discover a game-changing trick!
Tools and Gadgets That Can Help
A good rolling pin, a quality pie dish, and even a pastry blender can make a world of difference. Invest in the right tools, and baking becomes a breeze.
Common Mistakes to Avoid
- Overmixing the dough: This can make it tough instead of tender.
- Skipping the chilling step: Cold dough is easier to work with and produces a flakier crust.
- Ignoring the filling-to-crust ratio: Too much filling can overwhelm the crust and cause sogginess.
Conclusion: Crispy Pie Crust Made Simple
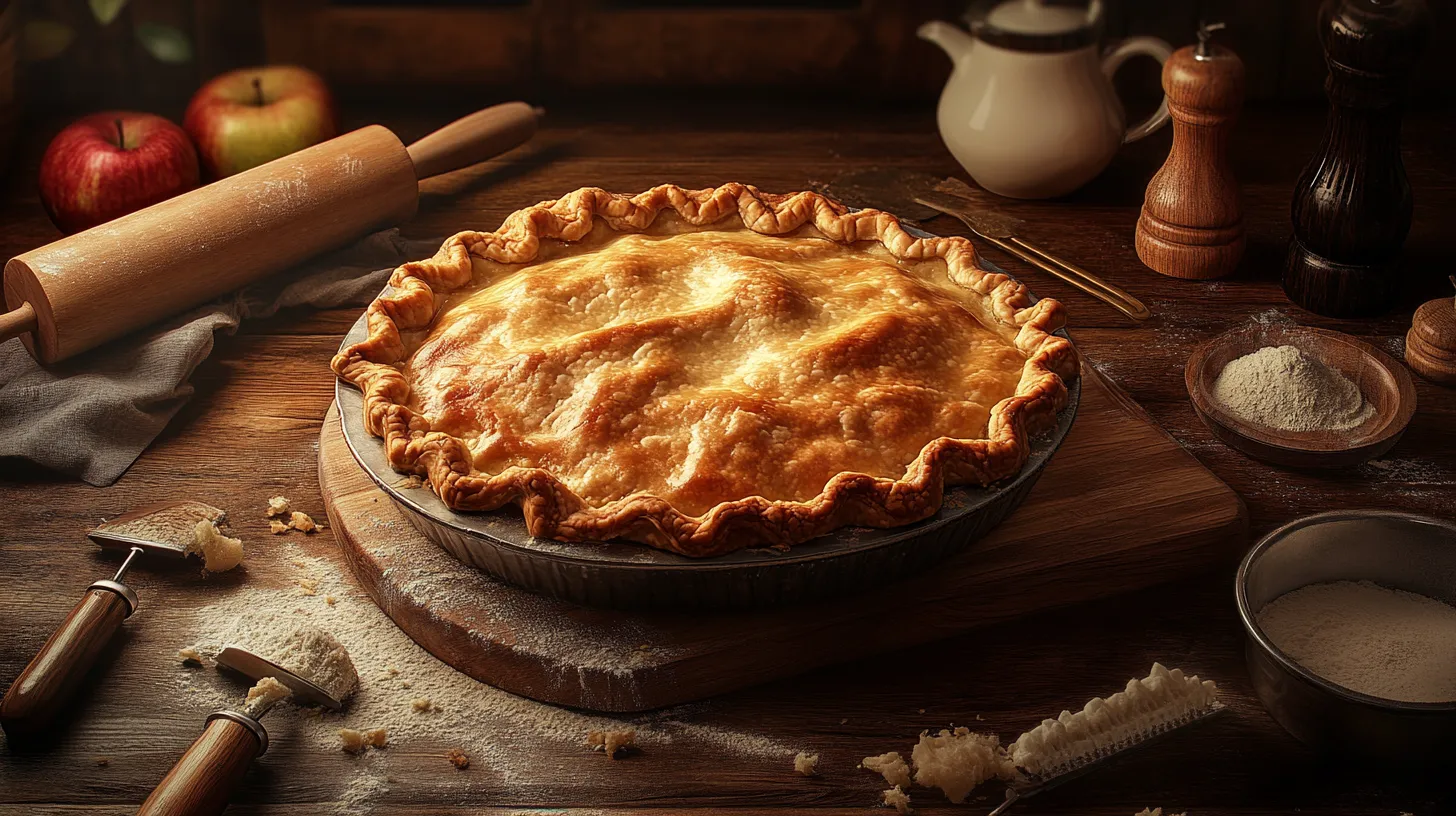
And there you have it—your ultimate guide to a crispy bottom pie crust! From understanding the science to mastering techniques, you’re now equipped to bake pies that’ll wow your family and friends. Remember, practice makes perfect, and every pie is a delicious experiment. So roll up your sleeves, preheat that oven, and let the pie-making magic begin.
With these tips, your pie crusts will turn out crispy and golden every time. Experiment with techniques and adapt based on your favorite recipes. For more baking hacks and culinary delights, visit our homepage.
Happy baking, and may your crusts always be crispy!

